|
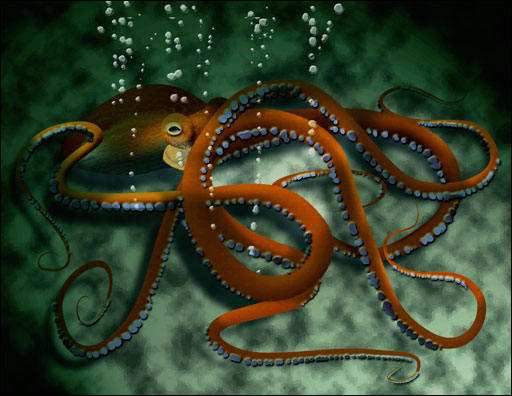
3D Octopus. 1 hour project When I was little boy, I liked spent my time in front of a small TV screen, breathlessly watching Jacques-Yves Cousteau ocean travels on his famous Calypso ships.Maybe old "souvenirs" caused me to depict magical dweller of ocean deep – Mr. Octopus… Despite this image looks pretty complexed – it is very simple in real! |
 |
|
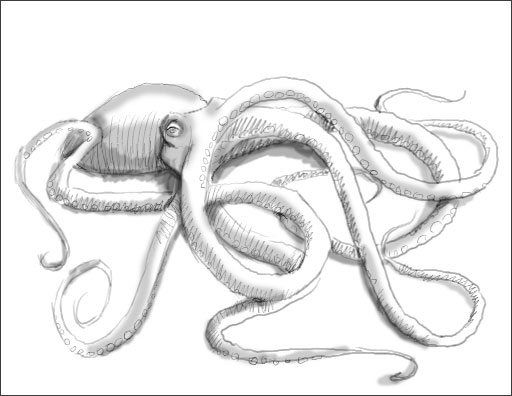
1. I think it is always important to make quick sketch of the future image, especially when you make live creatures. |
 |
|
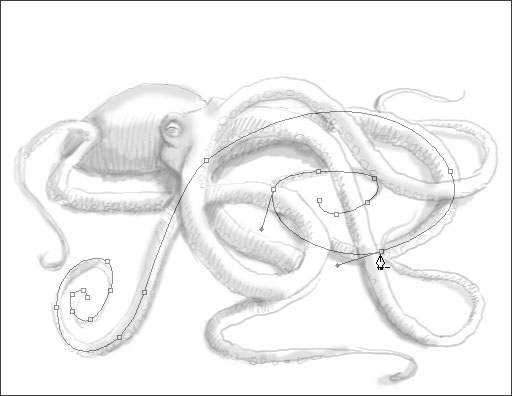
2. For each pair of Octopus’s legs I made one Path and save on separate Path Layer. |
 |
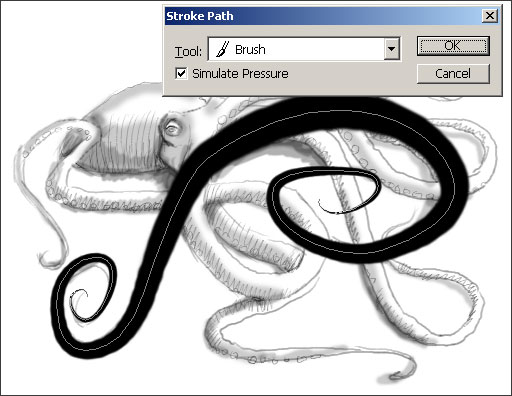
| 3. In this step I clicked on Stroke Path with Brush icon, holding Alt/Option key to call Stroke Path dialog box. In this box I checked Simulate Pressure box to achieve necessary effect. Keep in mind, Brush size is equal to thicker part of Octopus’s legs. |
 |
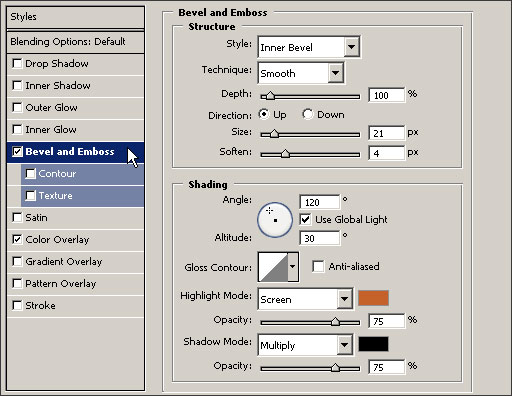
| 4. As you see on a corresponding picture I applied Layer Styel to Colorize and Bevel Octopus’s legs. |
 |
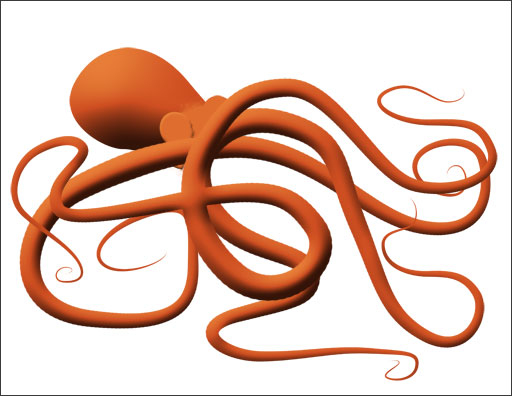
| 5. Here I applied described in steps 2 to 4 actions to each pair of legs. I created Octopus’s body(large Bevel in its Layer Style)and forehead. |
 |
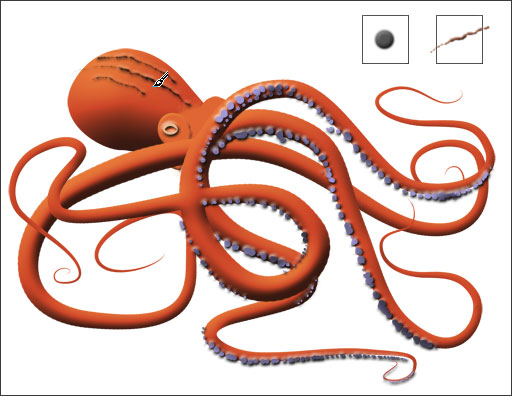
| 6. I created couple Custom Brushes, first for Octopus sensors – suction cups and second for its skin. Please refer to shown here outlined in squares samples. |
 |
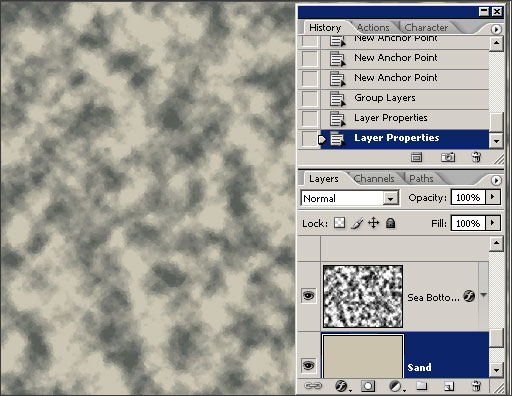
| 7. To make sea bottom I applied Filters -> Render -> Clouds. To see underlaying Layer I set blending mode of "Sea Buttom" Layer to Multiply. |
 |
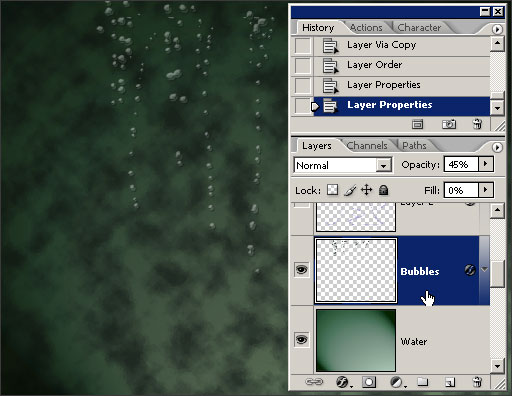
| 8. I filled the topmost Layer in dark green and then applied Filter -> Render – Lighting Effects. Some bubbles were made to finalize scene. You can find description of this effect in one of the first "Coca-Cola" project…. See? I didn’t lied to you – it was very-very simple. O’revoir! for now… |
 |
Thank you for posting this very helpful tip!!!
I didn’t know about the stroke path option w/ pen pressure (very cool!)
Thanks again for showing us your Octopus!